Getting started
TODO
Update!
In this tutorial, you will learn how to build a simple Marcelle application that allows the user to train a classifier to recognize drawings.
Setting up
The best way to set up your application is by using the Marcelle's dedicated CLI tools. You will need a recent version of Node.js installed (v18 or later).
Development version
Skip to next yellow block
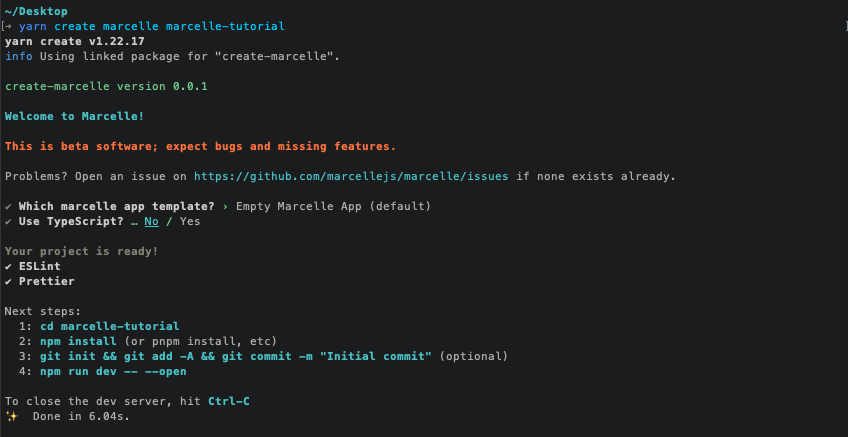
To create a new project:
npm init marcelle marcelle-tutorial
cd marcelle-tutorial
npm installyarn create marcelle marcelle-tutorial
cd marcelle-tutorial
yarnpnpm create marcelle marcelle-tutorial
cd marcelle-tutorial
pnpm iSeveral options are available to customize the project. If you don't know what to choose, just hit enter to select the defaults.
Development version
While we work on the development version, the following steps need to be taken to generate a new application:
0. Install pnpm
npm i -g pnpm1. Build a local version of Marcelle Libraries
Checkout the develop branch, install dependencies, and build all libraries:
git clone git@github.com:marcellejs/marcelle.git
cd marcelle
git checkout develop
pnpm i
pnpm build2. Generate the application
We can then generate an application, and create symbolic links to libraries compiled locally. In this example, we generate an app my-app in the parent folder to the marcelle repo.
cd ../ # or another path
node ./marcelle/packages/create-marcelle/bin.js my-app
# When prompted, select defaults (Dashboard, no TypeSscript)
cd my-appThen, open the project in a code editor and remove the following lines from package.json:
{
  ...
  "dependencies": {
    "@marcellejs/core": "^0.6.5",
    "@marcellejs/gui-widgets": "^0.6.5",
    "@marcellejs/layouts": "^0.6.5",
    "rxjs": "^7.8.1"
  },
  ...
}Finally, we can install dependencies, and link locally:
pnpm i
pnpm link ../marcelle/packages/core; pnpm link ../marcelle/packages/gui-widgets; pnpm link ../marcelle/packages/layouts; pnpm link ../marcelle/packages/devtools; pnpm link ../marcelle/packages/tensorflowThis will scaffold a new Marcelle project with the following structure:
.
├── README.md
├── index.html     # The main HTML page for your application
├── package.json
├── src
│   ├── index.js   # Main application script
│   └── components    # Directory containing local components bundled with your application
│       └── index.js
└── vite.config.js # Build tool configuration fileAlternative
It is also possible (and easy) to get started without any install!
Just go to https://glitch.com/edit/#!/marcelle-v2-blank and click on "Remix to Edit" in the top right, then start editing the script.
App basics
Marcelle is a client-side JavaScript framework. All Marcelle applications run in the browser without the need for communication with a Web server. In its simplest form, a Marcelle application is a webpage defined by index.html and a script file src/index.ts (or src/index.js if you chose JavaScript as language when generating your app).
To see the application running, type the command:
npm run devYour app should be running at http://localhost:3000/ (port may vary). If everything went well you should have a dashboard with a single text component.
Let's now inspect what's your app is made of. Open the file src/script.js (or src/script.ts), that contains the most minimal skeleton of a marcelle application. Let's start from scratch! Replace the contents of the file by the following lines, that import the marcelle library:
import '@marcellejs/core/dist/marcelle.css';
import '@marcellejs/gui-widgets/dist/marcelle-gui-widgets.css';
import '@marcellejs/layouts/dist/marcelle-layouts.css';
import * as core from '@marcellejs/core';
import * as widgets from '@marcellejs/gui-widgets';
import * as tf from '@marcellejs/tensorflow';
import { dashboard } from '@marcellejs/layouts';
import * as rxjs from 'rxjs';Development version
Note: imports used to be from a single package. With the modularization, it is getting complex for a quickstart, we might have to create a 'bundle' package.
Setting up a sketchpad
In our app, we want to capture drawings in order to interactively build a classifier. Drawings will be captured as images from a sketchpad. Marcelle is built around components, that can be instanciated using construction functions. To create a new sketchPad component, add the following line to the script:
const input = core.sketchPad();Note that if you look at the app in your browser, you will still see a blank page. In fact, Marcelle allows you to build you ML pipelines and choose which elements to display on an interface.
Showing the interface
Two types of interface composition mechanisms (or layouts) are currently available: Dashboards or Wizard Wizards. In this tutorial we will create a dashboard where we will add elements from the pipeline that we would like to display. To create a dashboard, the API provides a dashboard() function:
const myDashboard = dashboard({
  title: 'My First Tutorial',
  author: 'Myself',
});Then to visualise the created dashboard, we need to start it:
myDashboard.show();Now, you should see an empty dashboard in the browser.
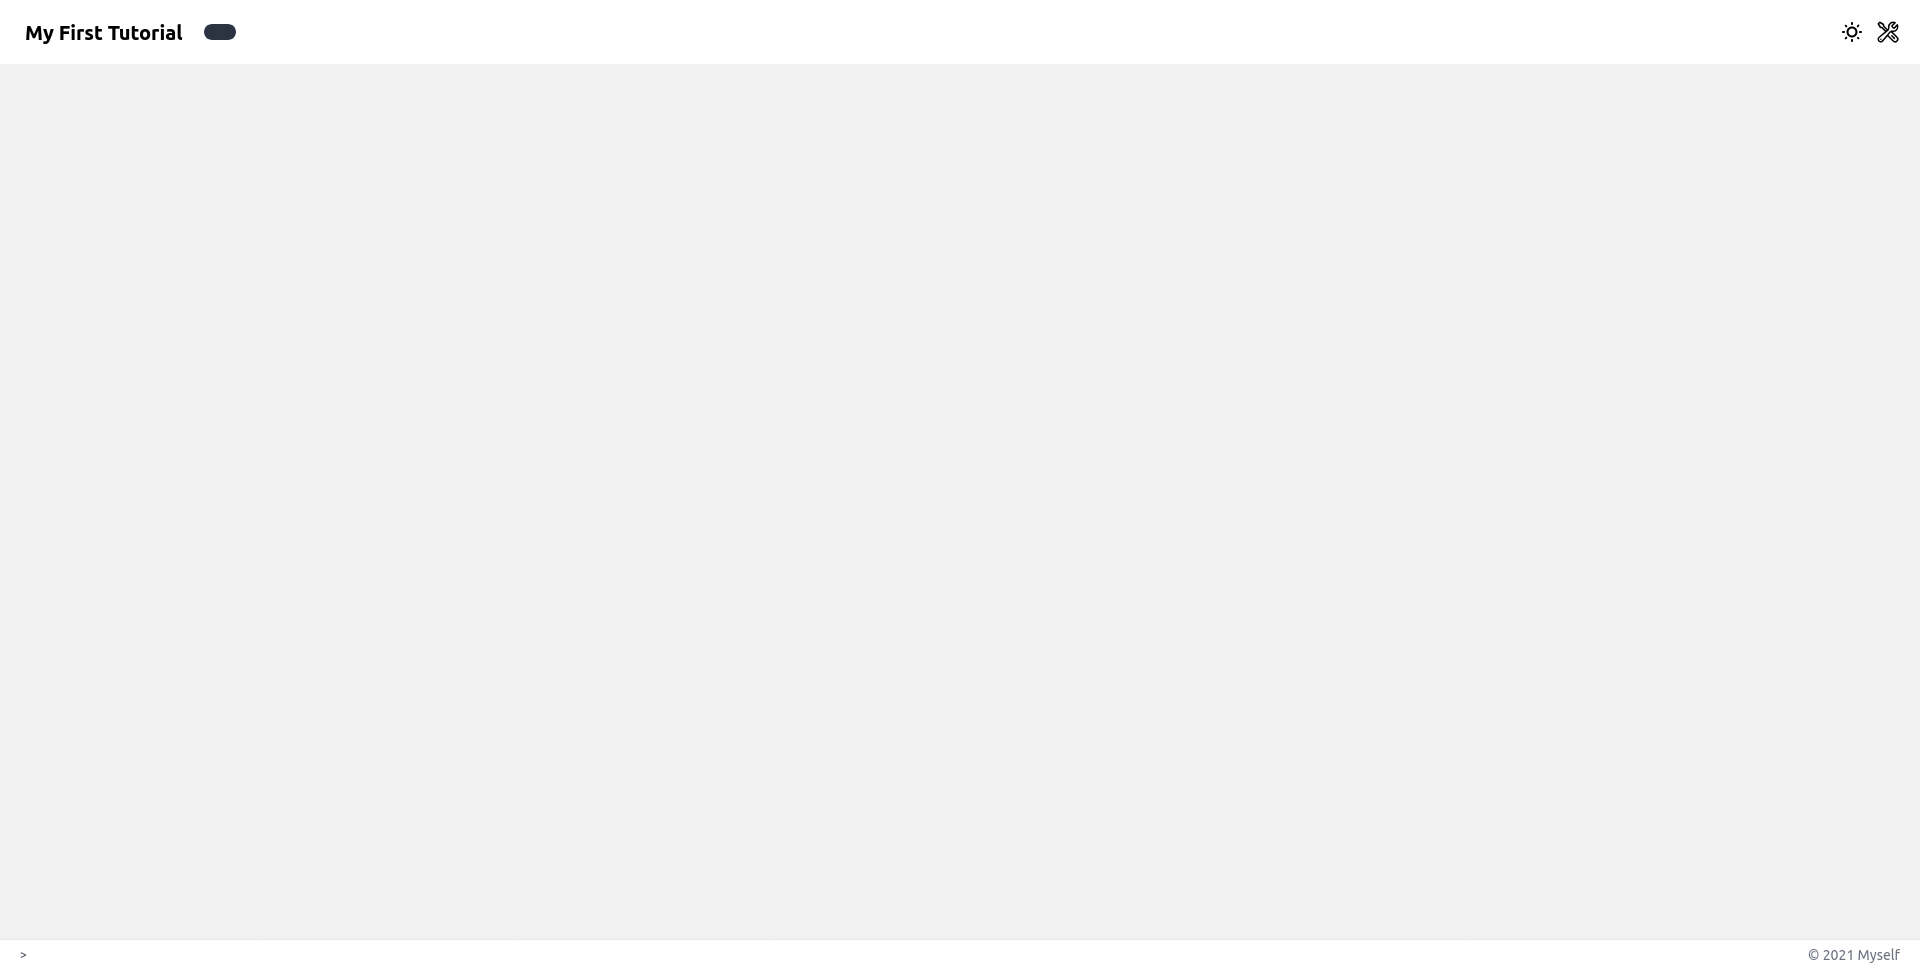
To display a component on the dashboard, we first create a page (see the dashboard API for more details) and specify all the components displayed on this dashboard page with the .sidebar() and .use() functions. .sidebar() adds components on the left column of the dashboard while the .use() function adds components on the main central column. In this tutorial we will add a sketchpad on the left of a dashboard page called "Data Management". Above the dashboard.show(); statement:
const myDashboard = dashboard({
  title: 'My First Tutorial',
  author: 'Myself',
});

myDashboard.page('Data Management').sidebar(input);

myDashboard.show();Which should look like this:
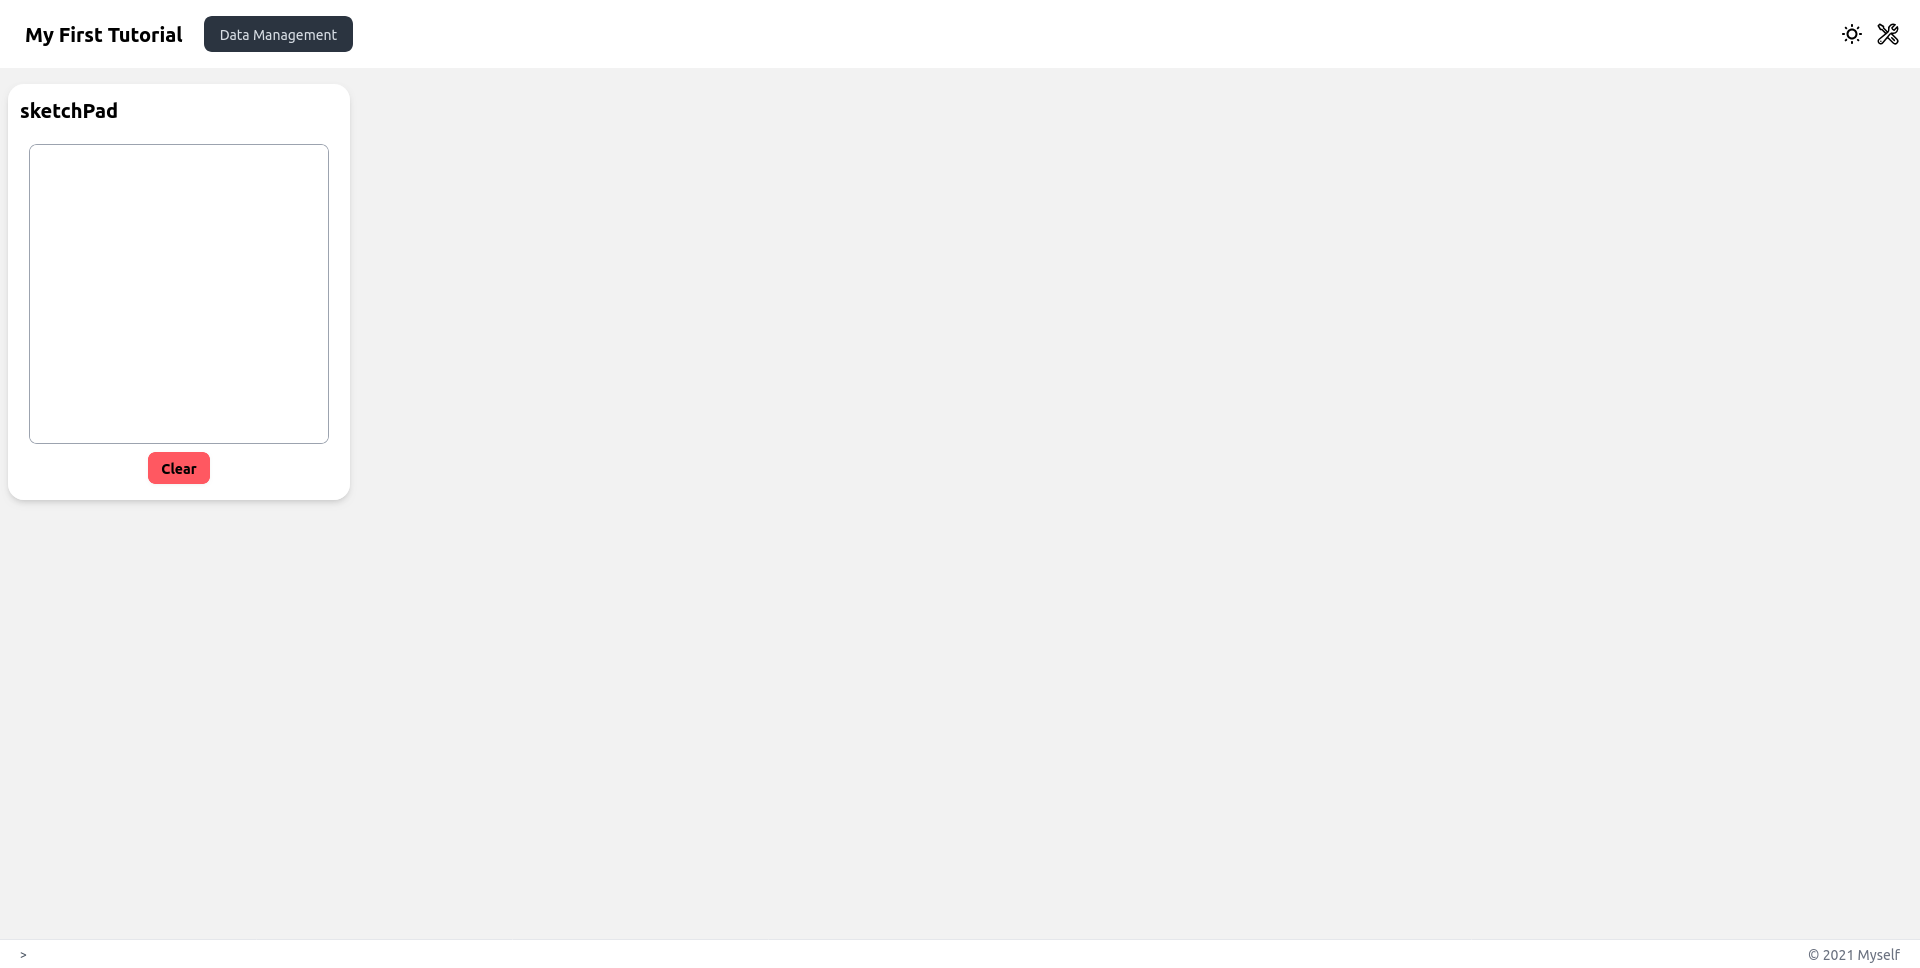
Building the ML pipeline
Feature extraction and dataset creation
If we want to build a classifier that takes images as inputs and that can be trained efficiently with few samples, we usually don't use the raw image data. We need to extract features that are well suited for the task. To do so, we could use a pre-trained model called Mobilenet that takes an image as input (whose size is 224 x 224 x 3 so 150528 dimensions) and outputs a vector of lower dimension. To declare a mobilenet feature extractor in Marcelle, we do:
const featureExtractor = tf.mobileNet();Marcelle heavily relies on a paradigm called reactive programming. Reactive programming means programming with asynchronous data streams, i.e. sequences of ongoing events ordered in time. Most Marcelle components expose data streams that can be filtered, transformed, and consumed by other components. Technically, streams are implemented using RxJS Observables.
For example, the sketchpad component exposes a stream called $images, that emits events containing an image of the sketchpad content every time a stroke is drawn on the sketchpad. To react to these events, we can subscribe to the stream, for instance to log its events to the console:
input.$images.subscribe((img) => {
  console.log(img);
});If you open your browser's developer tools, you should see messages printed every time you finish a stroke.
And if we want to compute the features associated to each new image from the sketchpad input, we write a function that subscribes to the images stream and processes the data:
input.$images.subscribe(async (img) => {
  const features = await featureExtractor.process(img);
  console.log(features);
});The events on streams implemented as RxJS observables can be processed using a set of operators, documented on RxJS's website. We can re-write the previous code as:
const $features = input.$images.pipe(
  rxjs.map(featureExtractor.process), // For each image, extract features (asynchronous)
  rxjs.mergeMap((x) => rxjs.from(x)), // Await the promise for each event
);
$features.subscribe(console.log);We now create a derived stream of instances from the feature stream like this:
const $instances = rxjs.zip([$features, input.$thumbnails]).pipe(
  rxjs.map(([features, thumbnail]) => ({
    x: features,
    y: 'test',
    thumbnail,
  })),
);
$instances.subscribe(console.log);Instances have few properties. In this example, we see that the label is specified by a string that we 'hard-coded' to test. In an application, a label can be provided by the user through a textInput on the interface:
const input = core.sketchPad();
const featureExtractor = tf.mobileNet();

const label = widgets.textInput();
label.title = 'Instance label'; Let's add the text field to the dashboard page using the dashboard's .use() method:
myDashboard.page('Data Management').sidebar(input);
myDashboard.page('Data Management').sidebar(input, featureExtractor).use(label); The textInput component exposes a $text stream that emits values whenever the user input changes. Let's log it to the console:
label.$value.subscribe((currentInput) => {
  console.log('currentInput:', currentInput);
});We can access the current value of a stream using its .get() method. We use it to complement our stream of instances:
const $instances = rxjs.zip([$features, input.$thumbnails]).pipe(
  rxjs.map(([features, thumbnail]) => ({
    x: features,
    y: 'test',
    y: label.$value.getValue(),
    thumbnail,
  })),
);We now create a dataset that can be used to train a classifier. A dataset requires a DataStore to store the captured data. A datastore can be created in the localStorage of your browser, but also on a server using a specified database.
Once the datastore has been instanciated, we declare a marcelle dataset with a given name and a given datastore. The dataset has a capture method to store an incoming stream of instances. In Marcelle, these three steps can be done as such:
const store = core.dataStore('localStorage');
const trainingSet = core.dataset('TrainingSet', store);

$instances.subscribe(trainingSet.create);To visualize our training dataset, we can use a component called datasetBrowser that provides an interface to visualize the dataset content.
const trainingSetBrowser = core.datasetBrowser(trainingSet);myDashboard.page('Data Management').sidebar(input, featureExtractor).use(label);
myDashboard
.page('Data Management')
.sidebar(input, featureExtractor)
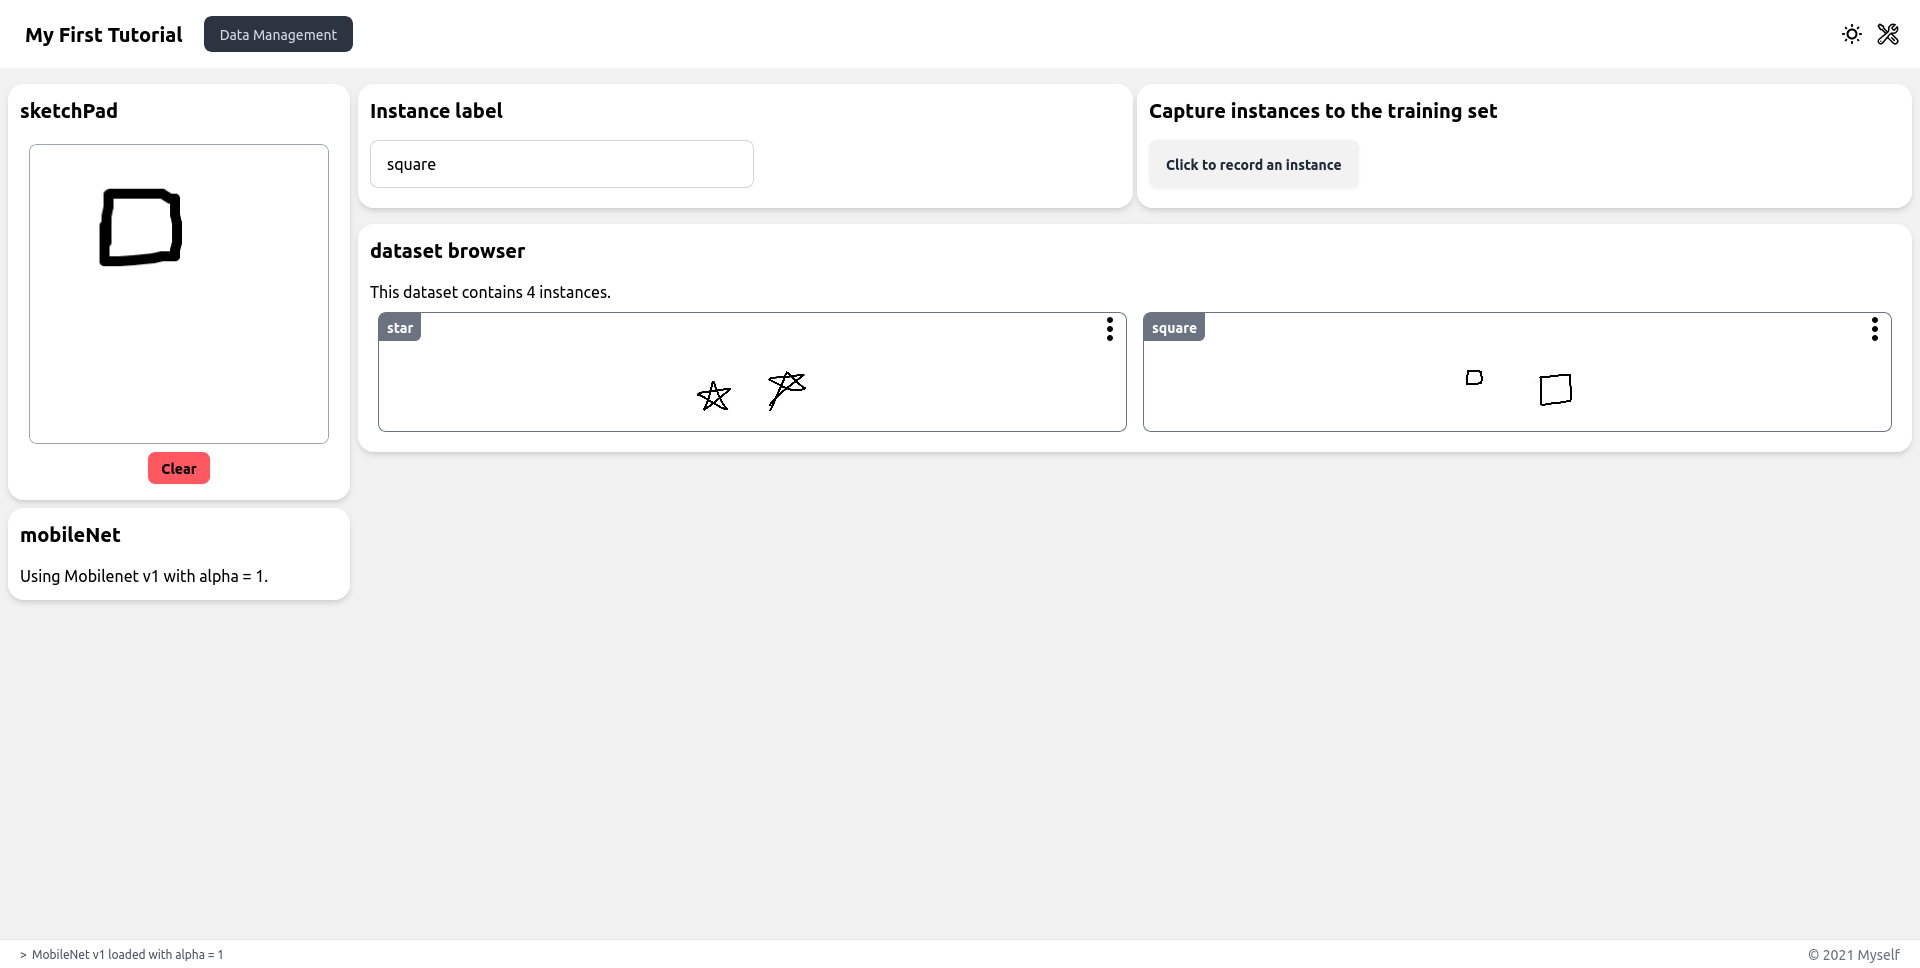
.use(label, trainingSetBrowser); If you draw on the sketchpad, you will notice that an instance is recorded at every stroke, because the dataset is capturing all instances coming from the sketchpad. To give the user more control over what is captured as training data, we can create a button to capture particular drawings.
const capture = widgets.button('Click to record an instance');
capture.title = 'Capture instances to the training set';myDashboard
.page('Data Management')
.sidebar(input, featureExtractor)
.use(label, trainingSetBrowser);
.use([label, capture], trainingSetBrowser); Using reactive programming, we can filter, transform and combine streams. In this case, we want to sample instances whenever the button is clicked. To do this, we can use the sample method from the button's $click stream:
// on every click
const $instances = capture.$click.pipe(
  // sample latest image+thumbnail:
  rxjs.withLatestFrom(rxjs.zip([input.$images, input.$thumbnails])),
  // drop the click information:
  rxjs.map((x) => x[1]),
  // create instance:
  rxjs.map(async ([img, thumbnail]) => ({
    x: await featureExtractor.process(img),
    y: label.$value.getValue(),
    thumbnail,
  })),
  // await promises:
  rxjs.mergeMap((x) => rxjs.from(x)),
);If you refresh the page in the browser, you should have:
Training a classifier
Next, we have to declare a classifier that will learn to recognize drawings from the training dataset. In this tutorial we use a Multilayer Perceptron (MLP), that can be declared by:
const classifier = tf.mlpClassifier({ layers: [32, 32], epochs: 20 });To start training, a button is added on the interface:
const trainingButton = widgets.button('Train');myDashboard
.page('Data Management')
.sidebar(input, featureExtractor)
.use([label, capture], trainingSetBrowser);
.use([label, capture], trainingSetBrowser, trainingButton); Then, we attach the training method of the MLP classifier to the stream of clicks. This way, each time an event is triggered through a click, the classifier will be trained on the trainingSet:
trainingButton.$click.subscribe(() => {
  classifier.train(trainingSet);
});When training Deep Neural Networks, it is usually important to monitor the training, which typically means to inspect the losses and the accuracies. In Marcelle, the trainingPlot component can be used to do so and then added to the dashboard.
const plotTraining = core.trainingPlot(classifier);myDashboard
.page('Data Management')
.sidebar(input, featureExtractor)
.use([label, capture], trainingSetBrowser, trainingButton);
.use([label, capture], trainingSetBrowser, trainingButton, plotTraining); Thus, after adding instances to the dataset, launching training is visualised as follows:

Making Predictions
Now that our model is trained, we can create another pipeline for prediction. With the same input sketchpad, we will make a prediction at every new drawing, using the trained model.
To create a stream of predictions, we need to pass images through the feature extractor (mobilenet), and then through the .predict() method of our classifier. To do this, we use the .map() method of streams, that transforms a stream by applying a function to each of its elements:
const $predictions = input.$images.pipe(
  rxjs.map(async (img) => {
    const features = await featureExtractor.process(img);
    return classifier.predict(features);
  }),
  rxjs.mergeMap((x) => rxjs.from(x)),
);

$predictions.subscribe(console.log);Note that in Marcelle, prediction functions are asynchronous. This means that they return promises. In order to create a stream containing the resulting values, we need to call .pipe(rxjs.mergeMap((x) => rxjs.from(x))) on the resulting stream.
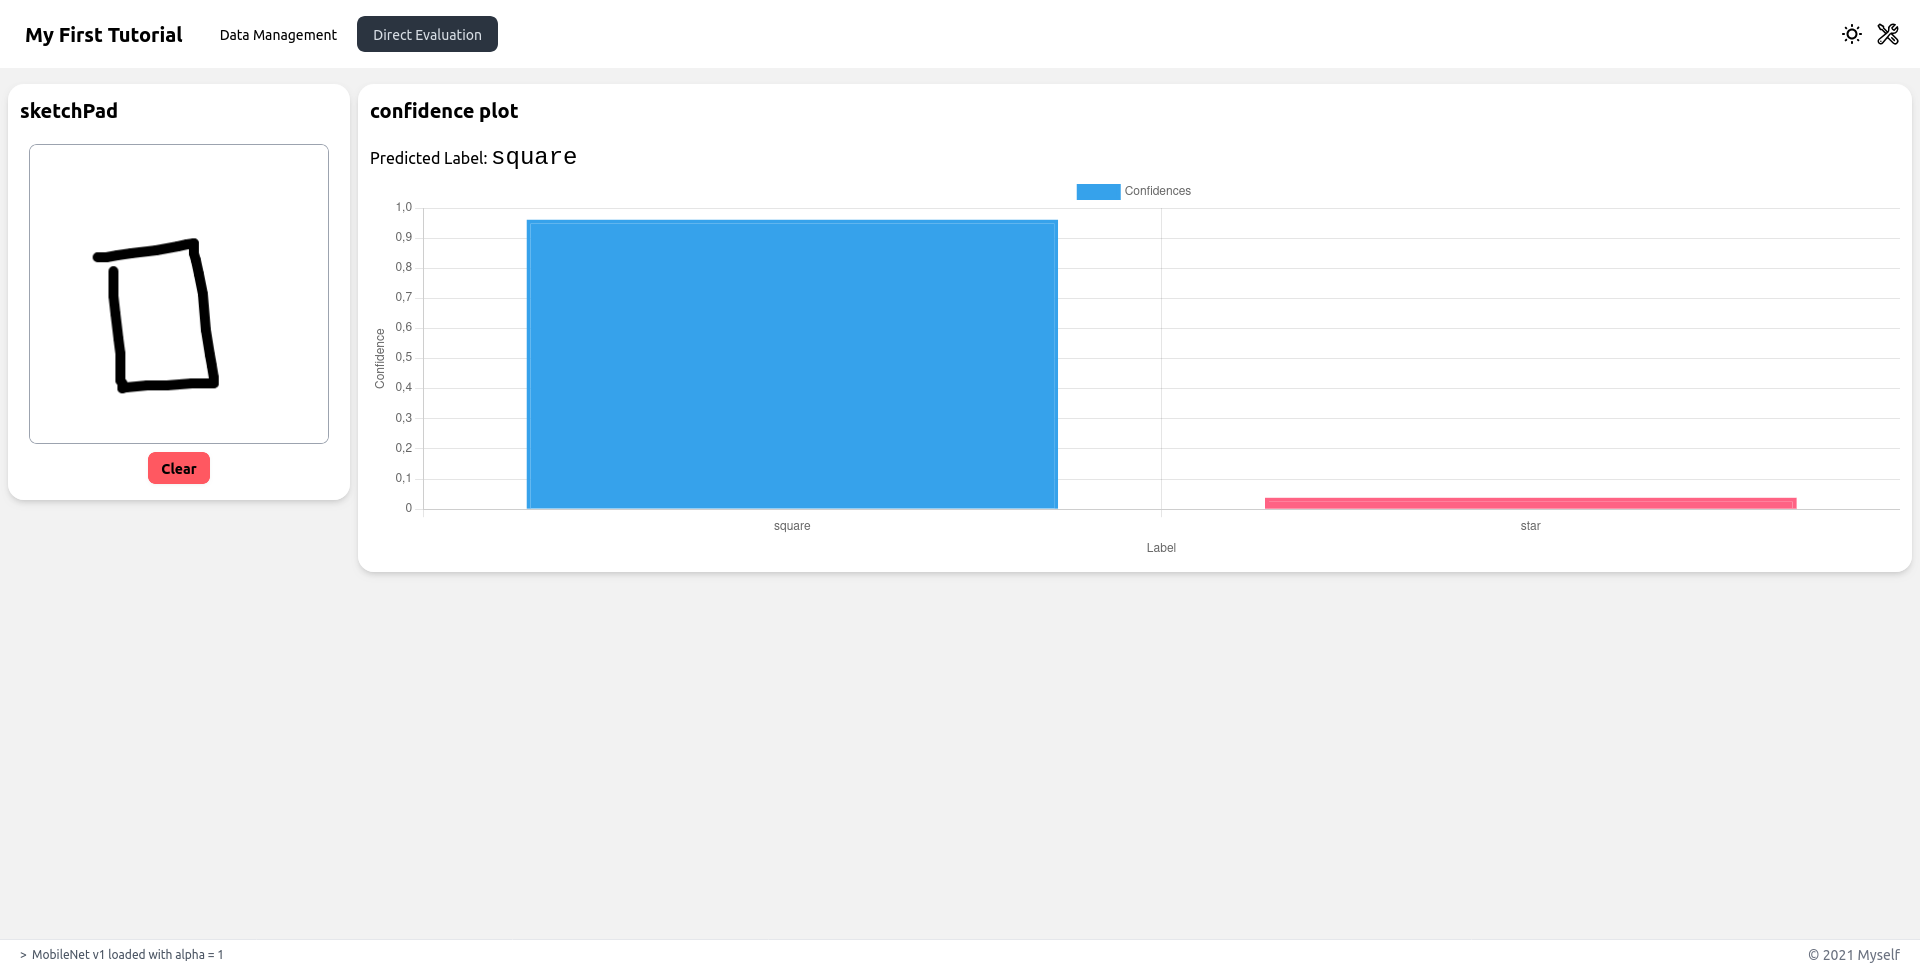
To visualize the predictions, we can use a component called classificationPlot. Let's add the sketchpad and this visualization component to a new page so that we can test our classifier:
const predViz = core.confidencePlot($predictions);

myDashboard.page('Direct Evaluation').sidebar(input).use(predViz);To give it a try, first train the model, then switch to the second page for testing!
Full Code
import '@marcellejs/core/dist/marcelle.css';
import '@marcellejs/gui-widgets/dist/marcelle-gui-widgets.css';
import '@marcellejs/layouts/dist/marcelle-layouts.css';
import * as core from '@marcellejs/core';
import * as widgets from '@marcellejs/gui-widgets';
import * as tf from '@marcellejs/tensorflow';
import { dashboard } from '@marcellejs/layouts';
import * as rxjs from 'rxjs';

// Setup the input component (sketchPad) and a pre-trained feature extractor
const input = core.sketchPad();
const featureExtractor = tf.mobileNet();

// Setup UI components for capturing instances
const label = widgets.textInput();
label.title = 'Instance label';
const capture = widgets.button('Click to record an instance');
capture.title = 'Capture instances to the training set';

// Capture instances: when the users clicks on the button, we capture the join
// values of the image and thumbnail streams from the sketchpad. The instance
// to store in the dataset is an object where:
// - `x` is a feature vector computed from the image
// - `y` is the current label in the textfield
// - `thumbnail` is a the thumbnail used for display in other components

const $instances = capture.$click.pipe(
  // sample latest image+thumbnail:
  rxjs.withLatestFrom(rxjs.zip([input.$images, input.$thumbnails])),
  // drop the click information:
  rxjs.map((x) => x[1]),
  // create instance:
  rxjs.map(async ([img, thumbnail]) => ({
    x: await featureExtractor.process(img),
    y: label.$value.getValue(),
    thumbnail,
  })),
  // await promises:
  rxjs.mergeMap((x) => rxjs.from(x)),
);

// Create a dataset, using a storage in the browser
const store = core.dataStore('localStorage');
const trainingSet = core.dataset('TrainingSet', store);
const trainingSetBrowser = core.datasetBrowser(trainingSet);

// At each new event on the $instances stream, an instance is stored in the dataset
$instances.subscribe(trainingSet.create);

// Create a classifier, and add component to visualize training
const classifier = tf.mlpClassifier({ layers: [32, 32], epochs: 20 });
const plotTraining = core.trainingPlot(classifier);

// Train the classifier
const trainingButton = widgets.button('Train');
trainingButton.$click.subscribe(() => {
  classifier.train(trainingSet);
});

// Create a stream of predictions by passing new images through the
// feature extractor and the current model
const $predictions = input.$images.pipe(
  rxjs.map(async (img) => {
    const features = await featureExtractor.process(img);
    return classifier.predict(features);
  }),
  rxjs.mergeMap((x) => rxjs.from(x)),
);

// Display the results
const predViz = core.confidencePlot($predictions);

// Setup all components on a dashboard
const myDashboard = dashboard({
  title: 'My First Tutorial',
  author: 'Myself',
});

myDashboard
  .page('Data Management')
  .sidebar(input, featureExtractor)
  .use([label, capture], trainingSetBrowser, trainingButton, plotTraining);

myDashboard.page('Direct Evaluation').sidebar(input).use(predViz);

myDashboard.show();